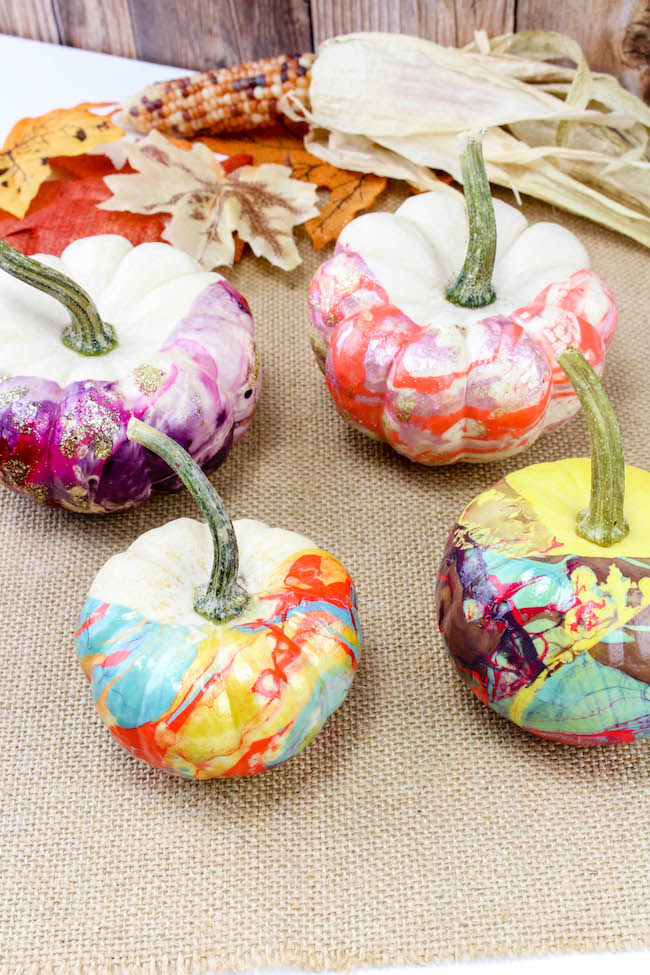
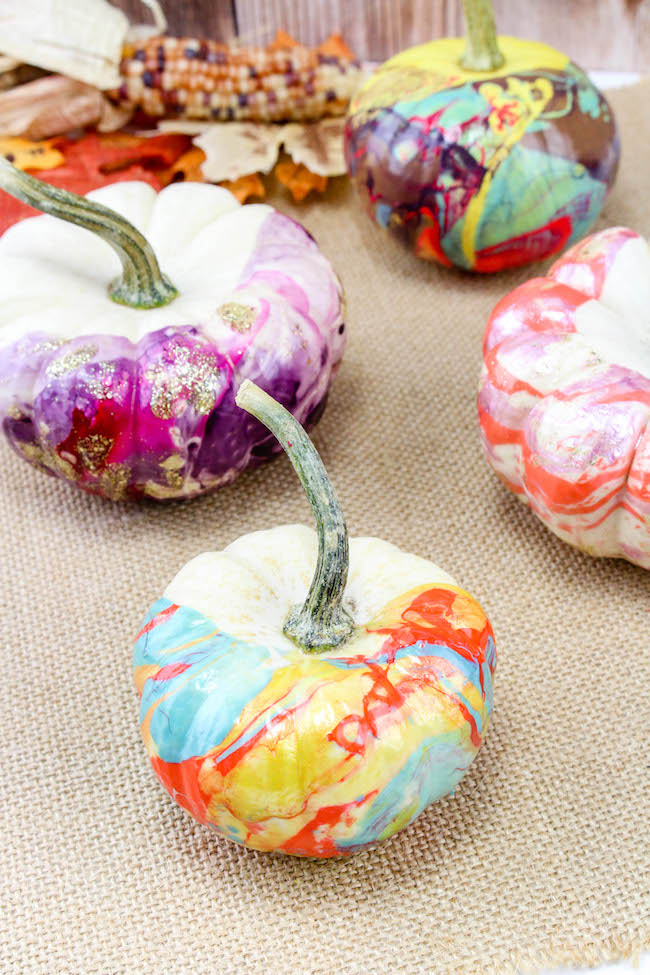
These stunning pumpkins will make an amazing centerpiece on your fall table or a great accent piece for your entry way. You can choose the colors that you prefer – I opted for a more colorful display than your traditional fall colors!
You can use white, orange or even yellow pumpkins for this craft, just be aware of the nail polish colors that may work best for the pumpkins you choose. For example yellow nail polish on a yellow pumpkin is probably not the best idea.
Other fun fall activities you can find are our Fall Craft Bucket and DIY Fall Deco Mesh Wreath, both which are family friendly!

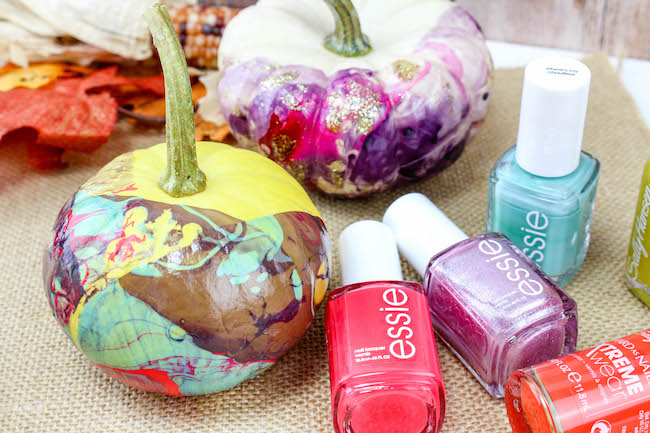
To even add more dazzle to your pumpkins you can use designer nail polishes that may be metallic or matte or any other creative finish to add en extra element of artistic effect.
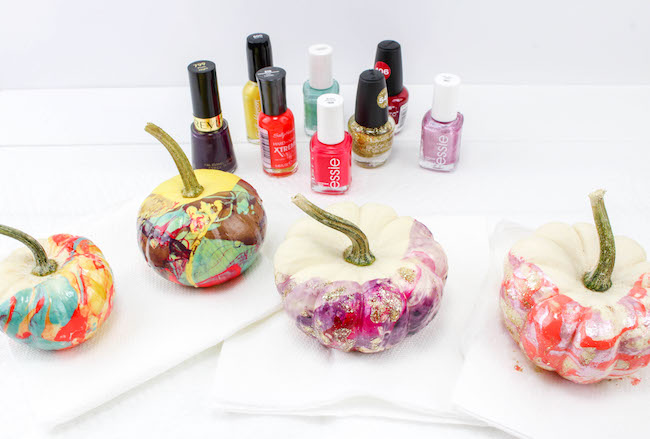
Create a cohesive color look for decorating tables and mantles – or you can do more multi-colored pumpkins like I have. I will be using these in my entry way which has a brighter color scheme and I created these to match it perfectly with brighter colors and some gold metallic polish.
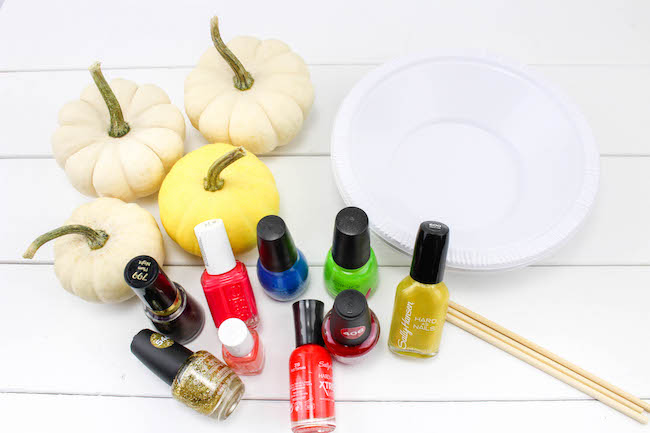
Materials Needed
- 4 mini pumpkins in your choice of white, yellow, or orange
- 8-10 bottles of nail polish in your choice of colors
- 4 disposable bowls
- Wood stir sticks
Instructions
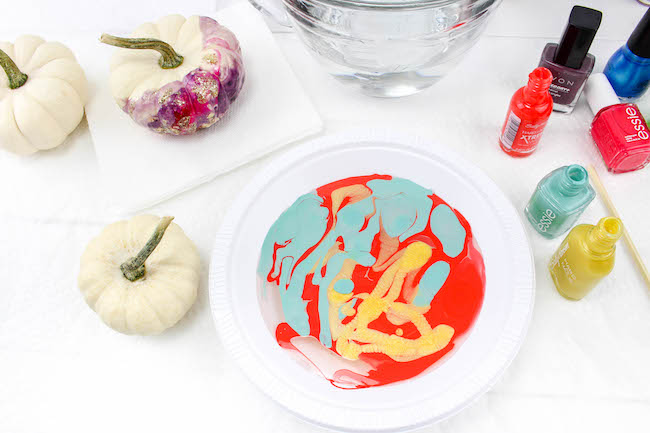
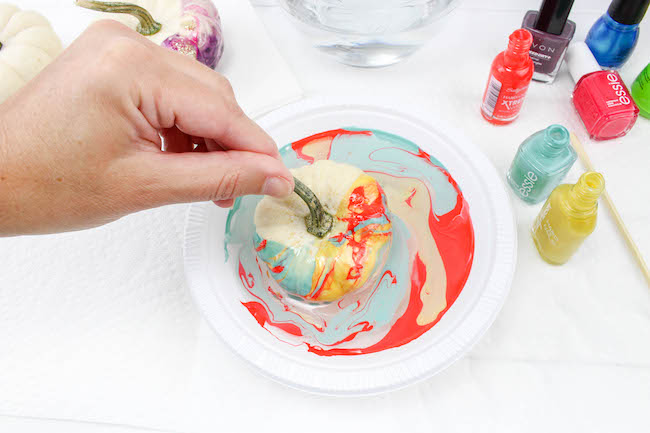
1. Fill one of the disposable bowls about half full of lukewarm water. If the water is too warm the polish will sink to the bottom and not float. You want to make sure the majority is floating on the top.
2. Choose 3 colors of polish and pour a little of each into the bowl, zigzagging it around as you pour.
3. The colors will swirl together, but you can use a stir stick to swirl it around as well. However, be quick and only stir once as the polish makes a film on top of the water that will adhere to the stir stick.
4. Quickly dip the pumpkin down into the water and roll it until about half the pumpkin is covered in the colors. You can do the entire pumpkin if you choose.
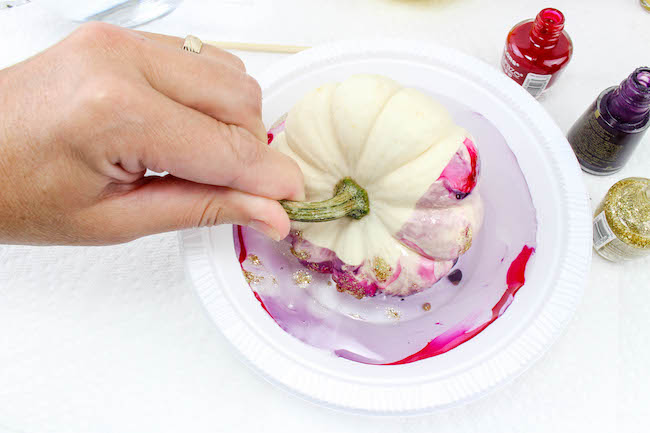
5. Repeat Steps 1-4 for the rest of the pumpkins using different combinations of colors.
6. Set the pumpkin on a paper towel to dry.
Important note:
Pour the nail polish water outside, not down your drain, when you are finished with each bowl.

Nail Polish Pumpkins
The nail polish pumpkins with their marble design are a great family activity and make a great decoration to your homes fall decor.
Materials
- 4 Mini Pumpkins---white yellow, or orange
- 8-10 bottles of nail polish—different colors
- 4 disposable bowls
- Wood stir sticks
Instructions
- Fill one of the disposable bowls about half full of lukewarm water. If the water is too warm the polish will sink to the bottom and not float. You want to make sure the majority is floating on the top.
- Choose 3 colors of polish and pour a little of each into the bowl, zigzagging it around as you pour.
- The colors will swirl together, but you can use a stir stick to swirl it around as well. However, be quick and only stir once as the polish makes a film on top of the water that will adhere to the stir stick.
- Quickly dip the pumpkin down into the water and roll it until about half the pumpkin is
covered in the colors. You can do the entire pumpkin if you choose. - Repeat Steps 1-4 for the rest of the pumpkins using different combinations of colors.
- Set the pumpkin on a paper towel to dry.
Notes
When your project is complete, do NOT dump your nail polish water down your drain or toilet as it will get thick and you do not want to risk clogs. We recommend pouring it outside or putting it in a plastic baggie to throw in the garbage.

Leave a Reply